

If you are using a Tri-Fold Card then place the completed card on your work surface with the stitched design facing downwards. Fold the left side over the back of the stitched pattern and secure with double-sided tape or blue to hide the stitching on the back of the card.
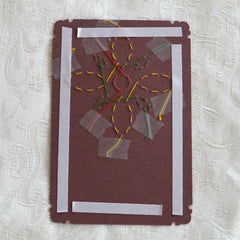
 If you are using a Standard Greeting Card Blank, then place the completed card on your work surface with the stitched design facing downwards. Secure additional paper to the inside of the card with double-sided tape or glue to hide the stitching on the back of the card.
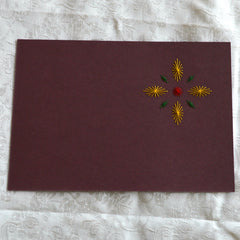
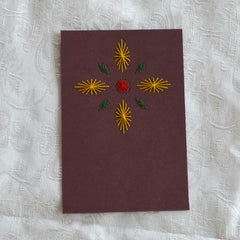 If you are using an Inset Card with a Standard Greeting Card Blank, cut the card to the desired size (I usually go 1cm in on each side from the size of the Card Blank to be used.
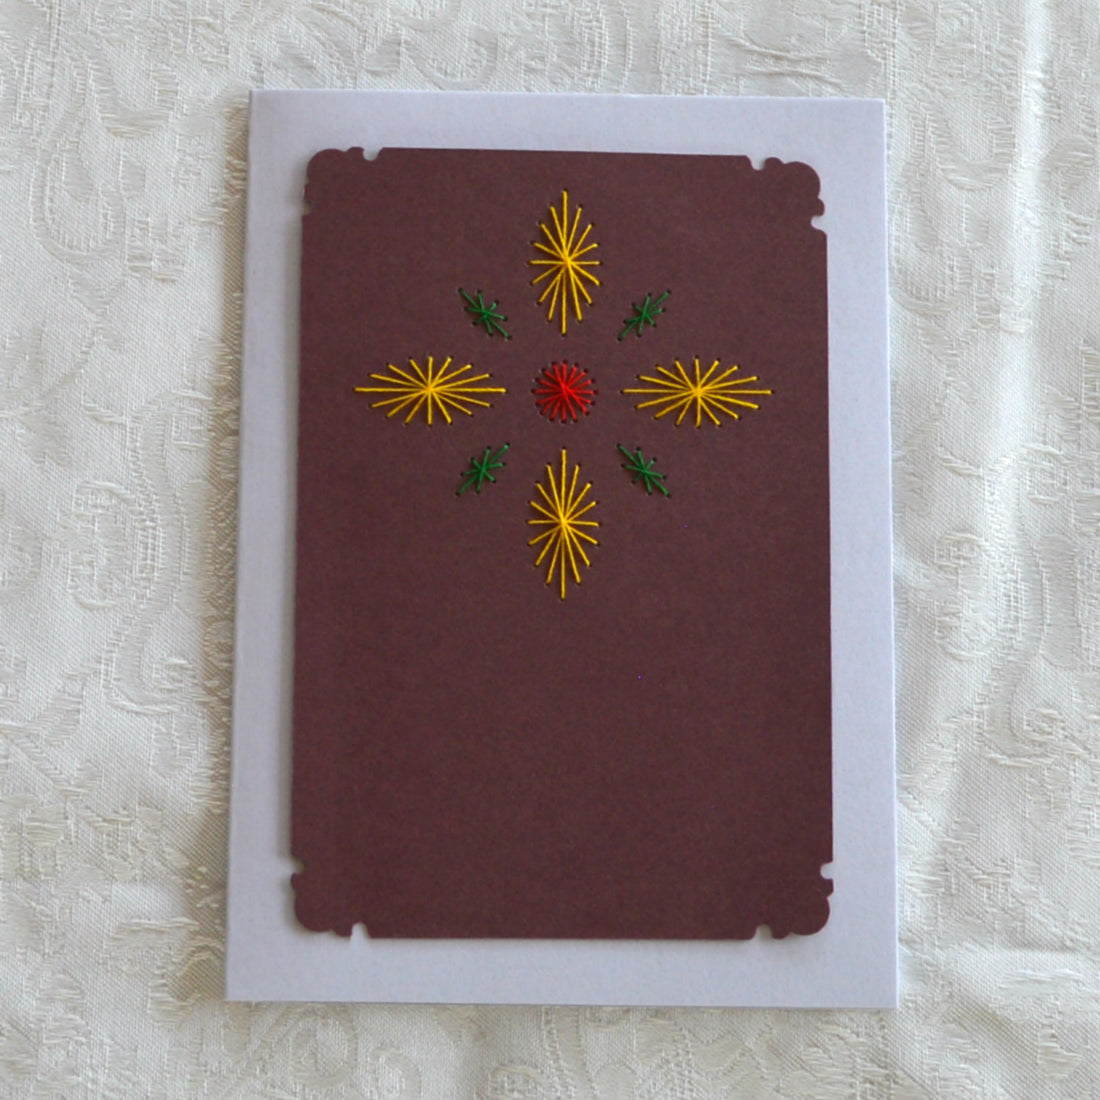
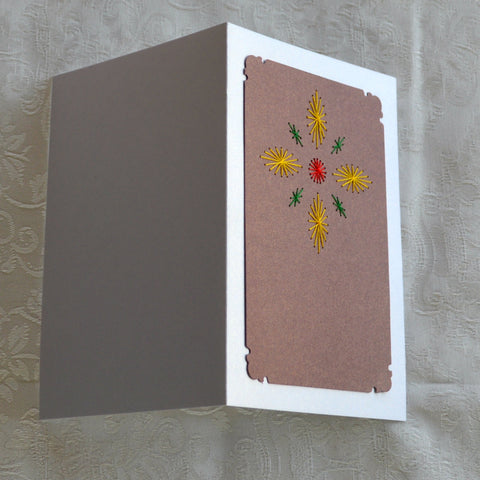
 Use a Corner Punch to make more detailed edging if wanted. The example shown is just one of many available.
 Use Double-sided tape or glue to attach the stitched Inset Card to the front of the Greeting Card Blank.
For A4 Artwork
With the A4 Artwork Kits, as this is artwork that is more likely to be hung in a frame than used for a gift card, you don’t need to ‘finish off’ the back of the card unless you want to hide your stitching.
If you do want to hide your stitching, secure your stitched artwork to another piece of blank card by using double-sided tape or glue (as per the example above)
Finish off your Artwork by having it matted and framed.

Click here to read the NEXT post in this series
Click here to read the PREVIOUS post in this series