

You don’t need any specialised tools or supplies to get started with Card Embroidery. Most of the basic items you may already have at home, however if you get heavily into this craft, there are some tools available that may make life easier, especially if you are using patterns that require you to prick the holes yourself.
All of our GIFT/GREETING CARD PATTERNS are made up of a base pricking template along with detailed instructions that step you through where to stitch - the colour and final design decisions are all up to you! What this also means though, is that you will need to prick all the holes yourself - with the larger and more complex designs this can be quite time consuming and tiring.
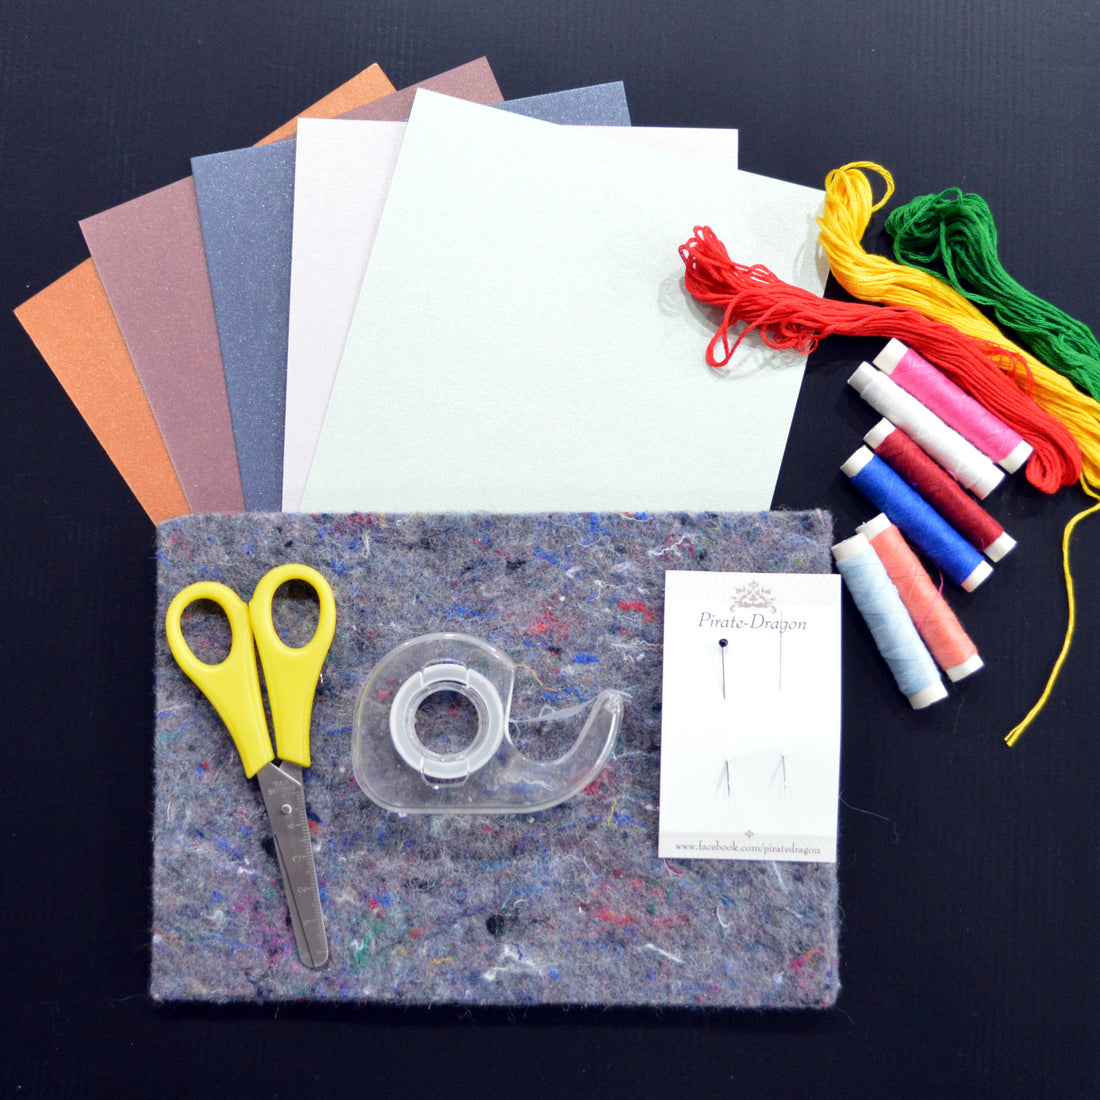
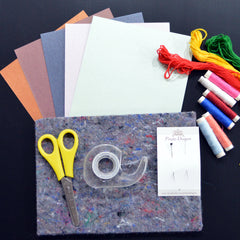
To complete one of our PATTERNS, you will need the following:
-
Pricking Tool - this can be a ball headed pin, hat pin or a specialised Single Needle Perforating Tool
-
Pricking Mat - this can be a thick piece of dense foam or felt. It should allow for easy entry of the Pricking Tool whilst keeping the card flat
-
A Fine Needle - this should be no larger than a Number 10 Embroidery Needle, the larger the needle the larger the pricked holes will be from stitching through them. (If comfortable using sharp needles I recommend a Fine Beading Needle)
-
Adhesive Tape - Matte-finish, invisible tape such as Scotch Magic Tape is recommended
-
Scissors
-
A selection of Threads - eg. Embroidery Floss, Metallic Threads, etc
-
Tri-Fold Greeting Card Blank (ie. single piece of card folded in three, is also sometimes referred to as a Bi-Fold card)
OR
-
Greeting Card Blank (ie. single piece of card folded in two) with extra card for insets
OR
-
Greeting Card Blank (ie single piece of card folded in two) with extra paper to hide stitching.
NB. Card should be 180-300gsm. When folded it should fit into a standard Greeting Card Envelope (eg. C6 - 114 x 162cm or A6 - 4 3/4 x 6 1/2 inches)
OPTIONAL ITEMS:
-
Double-sided Tape or Glue - to seal back of card/attach insert etc
-
Beads, Sequins and other embellishments - if wanted/required
-
Beading Needle - if using bead embellishments
-
Corner Punches - for Inset Card Designs
-
Ruler - to help prick holes in a straight line where necessary
The GIFT/GREETING CARD PATTERNS include the pricking template in 2 different sizes:
-
The smaller pricking template is for Inset Cards. This is where you cut out the pattern and stick it to the front of a Standard Greeting Card Black.
-
The larger pricking template is for a Standard Greeting Card (approx 10.5 x 14.8cm or approx 4.2 x 6 inches when folded). These are ideal for use with Tri- Fold Greeting Cards. If using the larger diagram on a Standard Greeting Card Blank, you will need to stick something over the back of (inside of) the card to hide the stitches.
Alternatively, if you don’t want to invest in all of the above and/or don’t want to prick all the holes yourself, then one of our CARD EMBROIDERY KITS may be more suitable for you.
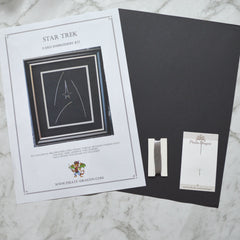
Each of our KITS include:
-
Pre-cut Card (ie all the relevant holes are already in the card)
-
Fine Beading Needle
-
Sufficient Thread to complete the design (with plenty of extra thread in case you make any mistakes)
-
Detailed instructions
-
OPTIONAL ITEMS:
-
Double-sided Tape or Glue - to seal back of card/attach insert etc
-
Beads, Sequins and other embellishments - if wanted/required
-
Beading Needle - if using bead embellishments
-
Corner Punches - for Inset Card Designs
All you need to complete one of our KITS is Adhesive Tape (Matte-finish, invisible tape such as Scotch Magic Tape), Scissors and Time.
Click here to read the NEXT post in this series.
Click here to read the PREVIOUS post in this series.
-