

Work step by step following the instructions. Each pattern has specific instructions supplied that should be done in order, however some patterns may include threading variations for you to consider before starting.
Take a single strand of thread approx 50-60cm/20-25inches long and thread your needle. When using metallic threads, use shorter lengths as thread may separate whilst stitching. If using stranded thread (e.g. embroidery floss), separate the strands to use a single strand (unless the instructions suggest using multiple threads).
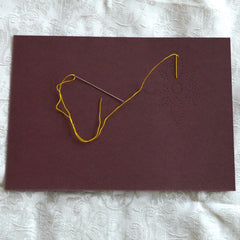
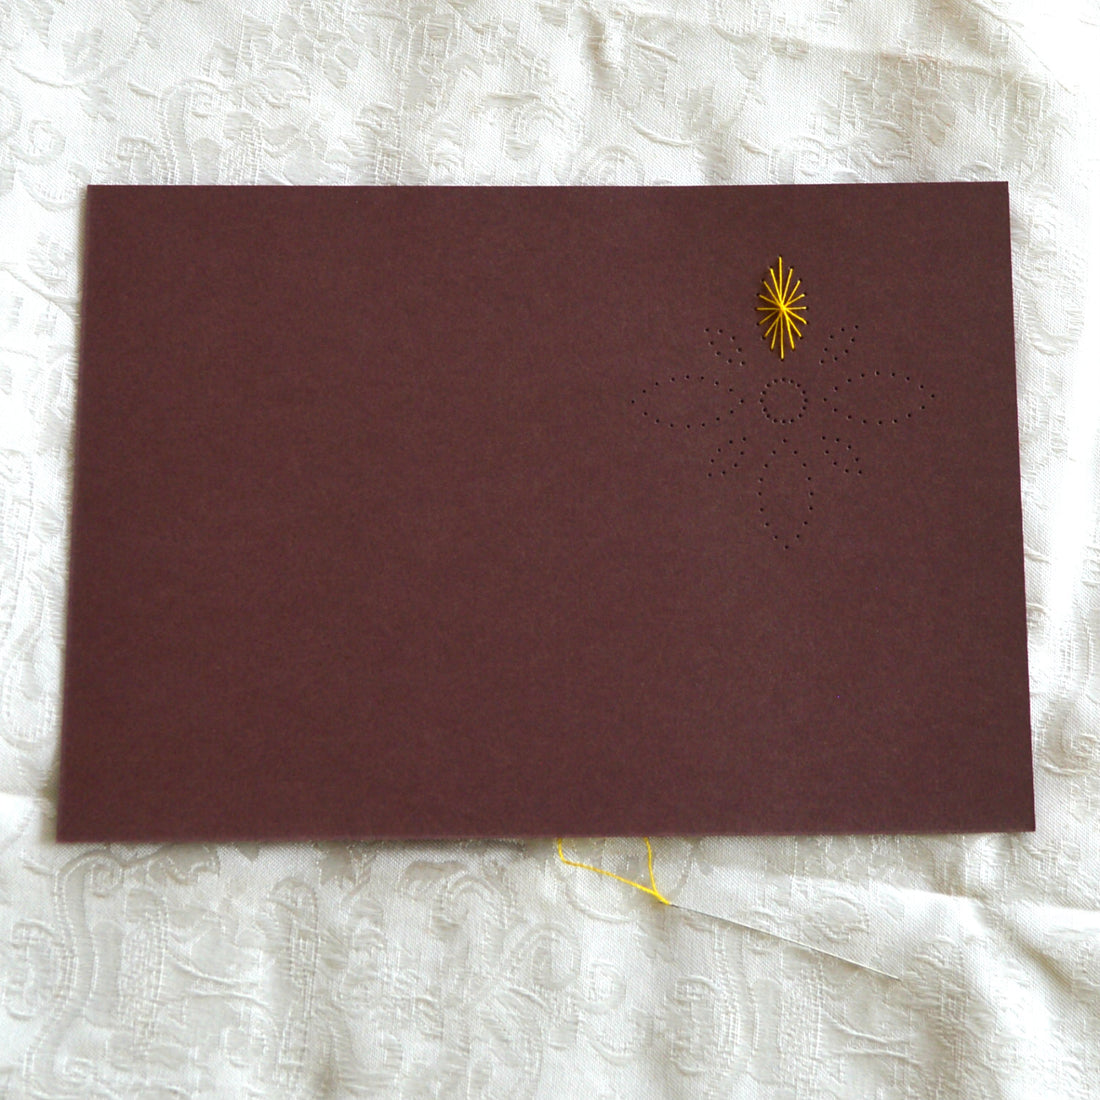
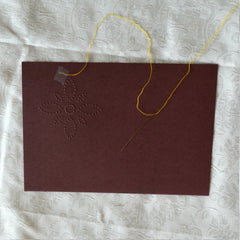
Identify the starting hole on the pattern. Turn the card over and secure the end of the thread to the back of the card with adhesive tape (ensuring that you don’t cover any of the holes that you will be stitching through). Insert the needle from the back of the card through the starting hole to the front of the card. Now follow the instructions for the pattern you are working with.
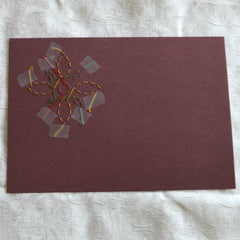
When you near the end of the thread, or the end of the stitch path for the section, fasten off the end of the thread with another small piece of adhesive tape on the back of the pricked card.
Click here to read the NEXT post in this series.
Click here to read the PREVIOUS post in this series.