


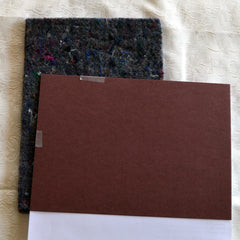
Fold the card open and place it face up on the Pricking Mat. Place the desired pricking pattern over the card in the desired position.
If using a Tri-Fold Card, remember that this will be on the middle panel.
Secure the pricking pattern along the top and bottom of your card using a small piece of adhesive tape.
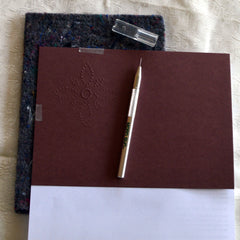
Carefully prick all the holes using a Pricking Tool. Your Pricking Tool can be a Ball Headed Pin or a specialised Single Needle Perforating Tool.
Whatever you use, try to keep the Pricking Tool vertical to make clear holes. If your design has a straight line of holes, use a ruler when pricking holes to help keep the line of holes straight.
If you make a mistake while pricking, turn the card over, and place a small piece of adhesive tape over the back of the card and continue.
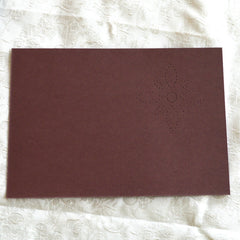
When you have finished pricking the card, hold it up to the light with the pattern still in place to check for any missed holes.
When you are confident all holes have been pricked, carefully remove the pricking pattern.
Click here to read the NEXT post in this series.
Click here to read the PREVIOUS post in this series.